A Guest Post by Mia Johnstone.
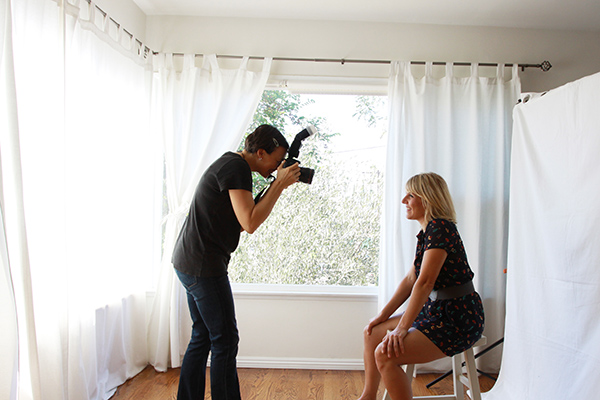
Learning some very simple fill flash tips will help elevate the quality of your photographs. This tutorial will teach you to fill in shadows and help create more professional looking portraits. These tips can be applied to shooting indoors with window light and can also be great for shooting outdoors in open shade (no direct sunlight).
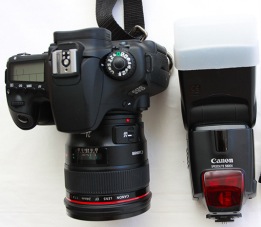 You need:
 - A DSLR camera
- Basic working knowledge of manual mode
- An off camera flash with variable light output (you can get basic ones for $100)
- An optional filter for your flash (softens light).
2. Depending on how strong the window lighting is, your ISO should be at around 100 or 200. I usually shoot at an aperture of 3 or 3.5. Then set your shutter speed appropriately, but not faster than 1/250. My settings=ISO 100, aperture 3.5, 1/125 speed.
3. Set your flash to manual mode and your variable light output to 1/34. If you are using a filter on your flash, your flash head should be at a 45 degree angle, if possible. Take a test shot. If I am only a few feet away from my subject, this is usually too bright. I love 1/64 or 1/128 light output from a flash. It gives that extra splash of light to help fill in the shadows.
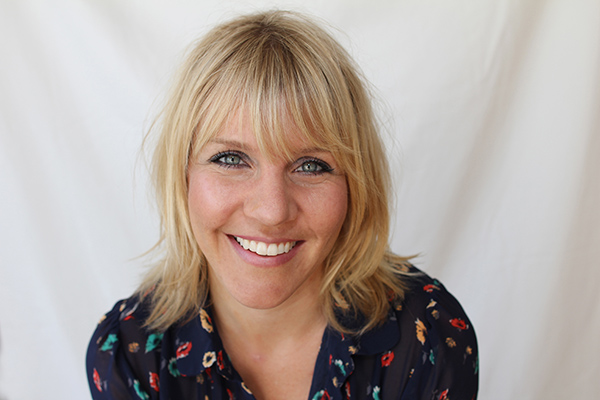
Metered for natural light. Added fill flash at 1/64 power. A balanced image.
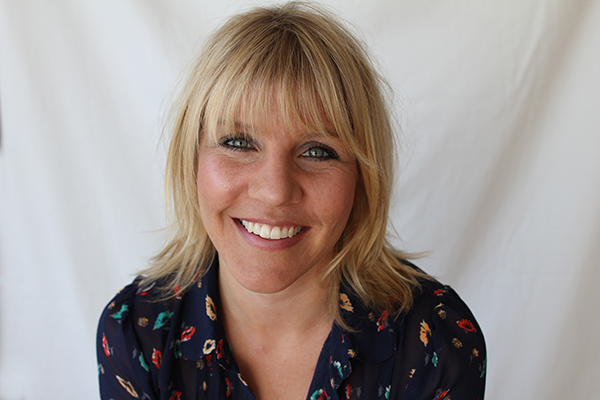
No flash. Dark shadows around nose and eye.
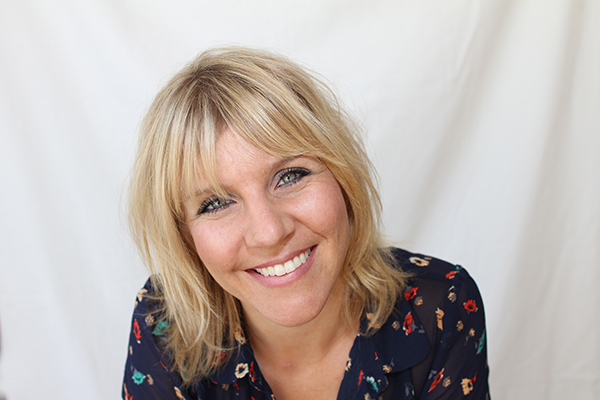
flash at 1/32 power. A little too bright
Flash at 1/32 power. A little too bright.
Read more:
Simple Fill Flash Tips: Disclaimer
No comments:
Post a Comment