New: Basic Lighting for Portrait Photography |  |
- New: Basic Lighting for Portrait Photography
- How to Cleanly Remove the Bottom of a Bottle: Product Photography Trick
- 12 Stunning Examples of Digital Monochrome Photography
| New: Basic Lighting for Portrait Photography Posted: 12 Jul 2013 08:57 PM PDT Lighting can be one of the most challenging aspects of photography, but something every photographer should strive to learn more about, no matter what their skill level. This new eBook is designed to lead you on a path of learning by doing using realistic example images. We were able to arrange 25% off for our readers for a few days, simply use the voucher code PICTURECORRECT at checkout. It can be found here: Basic Lighting for Portrait Photography This eBook is intended for photographers at a beginner and intermediate level where lighting is concerned. There is a lot of beginner material that won’t be of much use to the advanced photographer who already knows everything there is to know about studio lighting. The emphasis is on studio lighting, not natural light. Topics covered in This eBook include the fundamentals of gear and lighting options and modifiers, traditional portrait lighting patterns, one-light setups, multiple-light setups (main, fill, hair, background light), classic portraits, headshots, full-length lighting, white background lighting, and other topics. Chapter List (117 Pages):
The illustrations mostly feature main and fill lighting represented by small flash units modified with shoot-through umbrellas. However, any of the light sources can be re- placed by other types of lighting and modifiers to suit your particular needs. How to Get a Discounted Copy This Week:Our readers can receive 25% off until Thursday, June 27 by using the discount code PICTURECORRECT at checkout. The guide comes in PDF format that can be read on computers, phones and most tablet computers (works great as a mobile reference out in the field). It can be found here: Basic Lighting for Portrait Photography Go to full article: New: Basic Lighting for Portrait Photography |
| How to Cleanly Remove the Bottom of a Bottle: Product Photography Trick Posted: 12 Jul 2013 02:40 PM PDT Having the bottom of a bottle removed by a professional could cost anywhere from 50-60 dollars apiece. This is probably because the process involves some heavy machinery and an expert in glassware at the very least, but you might be surprised how easy it is to do it yourself (for those of you reading this by email, the video can be seen here): What You'll Need:
Steps:
4. Use a lighter to set the twine on fire.
5. Spin the bottle constantly so the heat doesn't settle in one place. This neat little photography trick will certainly come in handy when dealing with product photos like this one:
Go to full article: How to Cleanly Remove the Bottom of a Bottle: Product Photography Trick |
| 12 Stunning Examples of Digital Monochrome Photography Posted: 12 Jul 2013 11:49 AM PDT Black-and-white, often abbreviated B/W or B&W, is a term referring to a number of monochrome forms in visual arts. Black-and-white as a description may be considered a misnomer in that the images are not ordinarily starkly contrasted black and white but combine black and white in a continuum producing a range of shades of gray:  photo by rob castro  photo by Spencer Lunn  photo by Thomas Jeppesen 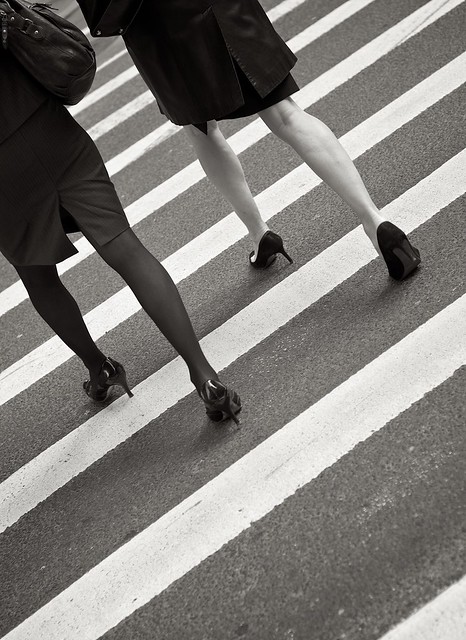 photo by Thomas Leuthard 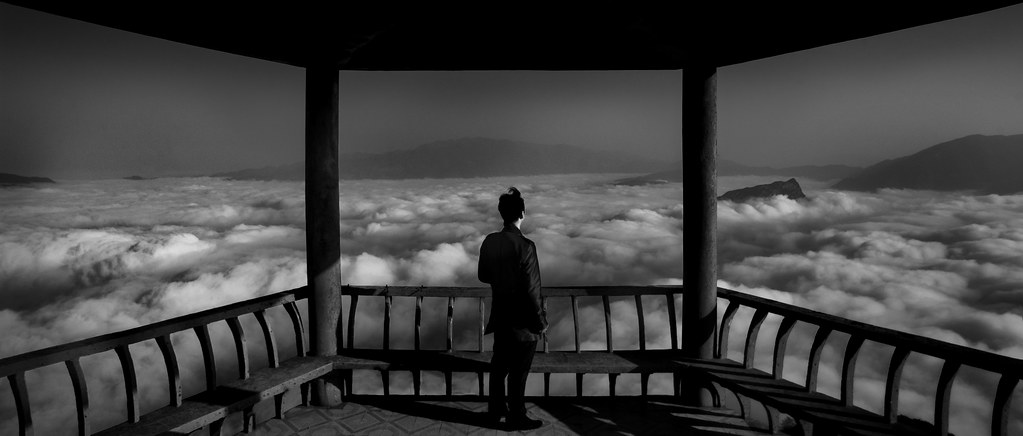 photo by Jonathan Kos-Read  photo by R E M I B R I D O T 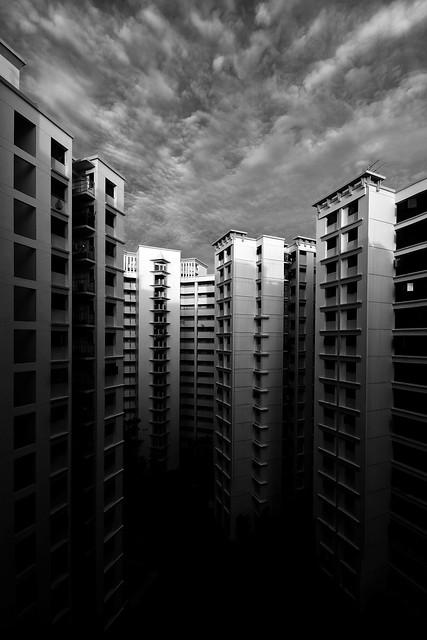 photo by digitalpimp.  photo by Casete 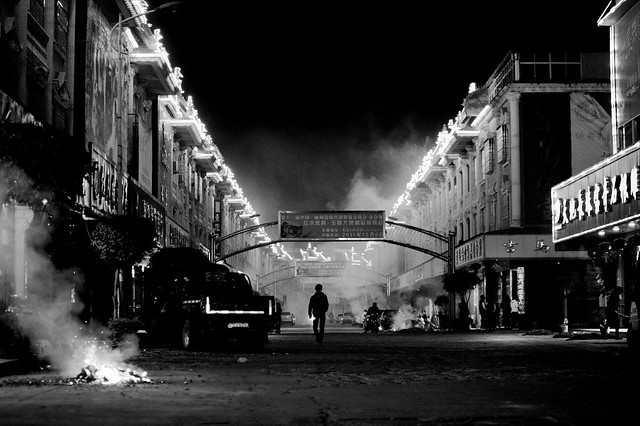 photo by Jonathan Kos-Read  photo by Desh Kapur 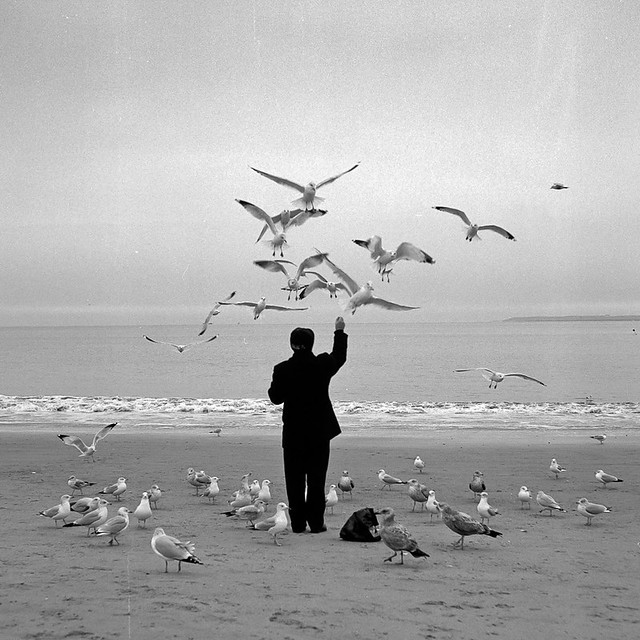 photo by Barry Yanowitz photo by Trisha Digital photography has very clearly changed the way we can shoot in black and white, and it is perfectly obvious that by far the most important practical difference between a sensor and film is that now you can have both color and monochrome from the same shot. There is no prior choice to be made, no decision to load black-and-white film rather than color film before setting out. So, why wouldn’t you try it? Go to full article: 12 Stunning Examples of Digital Monochrome Photography |
| You are subscribed to email updates from PictureCorrect Photography Tips To stop receiving these emails, you may unsubscribe now. | Email delivery powered by Google |
| Google Inc., 20 West Kinzie, Chicago IL USA 60610 | |


No comments:
Post a Comment