How To Get Stunning Colors In Your Sunset Photography |  |
- How To Get Stunning Colors In Your Sunset Photography
- Lucky Timelapse Photographer Captures Rarely Seen Meteor Explosion
- Tricky Low Light Engagement Photography Situations
- Endless Creativity is Possible in Portrait Photography: Here are 11 Examples Full of Life
| How To Get Stunning Colors In Your Sunset Photography Posted: 20 Aug 2013 10:00 PM PDT Final Reminder: New eBook on optimizing color in landscape photography: Art of Color Processing Nothing makes a sky pop in a photograph the way that a sunset can. Beautiful purples and yellows in a sky are often the result of the setting sun, but in order to capture the richness of those colors in a photograph, there are few tricks you should know about. In today’s landscape photography photo tip, we will continue our discussion on shooting better sunset photos. MeteringIn a past photo tips article we discussed how to meter the sunset so that we don’t get a dark, muddy (or even completely black) sky. The meter in our camera will see all the light from the sun and expose for that value while letting everything else in the scene go dark. To fix it, we meter for the sky with the sun out of the frame, then recompose to include it. In effect, this increases the exposure value and more properly exposes the sky. For today’s first sunset photo tip, we are going to take a step backward. Now that we have increased the exposure to get a “correct” reading in the sky, we have to step back and change our settings to slightly underexpose the sky. That’s when we are going to get all of those colors to “POP”. Slight underexposure will deepen and intensify the colors. The problem is that if we overexpose the sky–or even if we have a “correct” exposure (I put “correct” in quote marks because artistically there really is no such thing) we wash out all the stunning colors that drew us to the scene in the first place. On the other hand, if we underexpose by too much, everything starts to go black. This is another area where shooting digital images is sometimes better than film. We can see what we’re getting and make adjustments on the fly. When shooting film, we had to guess at the best exposure–and frequently we were wrong. Even worse, we didn’t find out until the film was processed, which could take several days. And we had to pay $15 or $20 for the privilege of seeing bad or inadequate sunset photos. With digital cameras, we can immediately see the results and tweak our settings until we get exactly what we want. With this ability, there is absolutely no reason why we can’t get sunset photos that will absolutely take our breath away. The flip side to underexposing the sky in sunset photography is that the ground area is going to go dark. At sunset it is probably dark to begin with, and underexposing the image is going to further darken it, possibly making the foreground go completely black with no detail. Unless we are going for a silhouette, we rarely, if ever, want areas of our photographs to be without detail. Add FiltersIf we want to lighten the foreground without lightening the sky, we use a split neutral density filter. This way we underexpose the sky with the filter, not the exposure setting. Actually, the filter can be neutral or colored. When using a colored filter, you can add color to a sunset. Here’s a pro secret: many of the beautiful colors we see in professional quality sunset photographs have been added with a filter. Particularly in movies and on television. (Photo techniques don’t change just because it’s a movie set.) We can stack filters and use a colored filter to add colors to the sky and then darken it with a split neutral density filter to rescue the foreground. For sunsets, tobacco colored filters tend to be very popular. For sunrises, filters trend more toward pink. So, to create that jaw-dropping, contest-winning sunset you’ve been dreaming about, meter with the sun out of the frame to increase the exposure value. Then slightly underexpose the sky to intensify the colors. Finally, bring back the details in the ground and add color to the sky, if necessary, with filters. Today’s landscape photography photo tip is going to quickly separate you from the crowd. Try it! About the Author: New, Learn How to Optimize Color in Post-Processing:In a new training guide, professional coastal landscape photographer Christopher O'Donnell explains his color processing workflow in a step-by-step fashion, guiding you through each stage: The deal can be found here: The Art of Color Processing Go to full article: How To Get Stunning Colors In Your Sunset Photography |
| Lucky Timelapse Photographer Captures Rarely Seen Meteor Explosion Posted: 20 Aug 2013 01:43 PM PDT If Yogi Berra were a photographer, he’d probably tell you that 90% of a good shot was half luck. Michael Chung experienced that cocktail of good fortune and proper exposure for himself last week when he sat down to process his images for a time lapse of the annual Perseid meteor shower, and he stumbled onto something spectacular (for those of you reading this by email, the timelapse video can be seen here): Did you see it? A brilliant flash followed by a ring of what looks like smoke expanding outward? That’s a meteor breaking apart, and the resulting ring is something called a “persistent train,” charged gas that’s been heated and giving off electrons. Chung estimates that the whole chain of events—from explosion to the gas dissipating—lasted about 20 minutes. He uploaded four versions of the same sequence for the video above: two at full resolution, the first at 24 fps, the second at 12 fps. Then Chung cropped it down to 720p for a closer look, and played that back at 24 and 12 fps, respectively. That last one—720p at 12 fps—gets you the best look at something incredible happening in the night sky. Details on this Timelapse Setup:
Chung himself admits that he got lucky with the this catch, but he couldn’t have picked it up this well if he hadn’t set up his time lapse just right. Even if you know what you’re doing, shooting night-to-day or day-to-night takes a lot of careful set up and preparation. If you’re just starting out with time lapse and want to learn about it in depth, check out this complete guide. Go to full article: Lucky Timelapse Photographer Captures Rarely Seen Meteor Explosion |
| Tricky Low Light Engagement Photography Situations Posted: 20 Aug 2013 01:13 PM PDT To be a successful photographer, you have to be resourceful, adaptable, and quick. In this video, SLR Lounge shows you an example of how to embrace limited time and resources. This specific situation includes a personal engagement photo for a couple that involves their car in the shot. With only 15 minutes left, the shot had still not been taken. Ruling out the possibility of a full studio set-up with multiple strobes, the team was pressed to think on their feet and come up with a creative solution. Watch to see how they got the shot (for those of you reading this by email, the video can be seen here): In this case, light painting and post production were the answers. Since the crew didn’t have time to set up a lot of lights, they simply used several long exposures to “paint” the car with one light and created a composite image later in post-processing. To do this, the team used a Canon 5D Mark III, Canon 24-70mm f/2.8 II, Manfrotto 055XPROB tripod, and a Lowel GL-1 light. If you find yourself in a similar time crunch, go through this mental checklist:
 Light painting and multiple exposures were used instead of a multi-light setup  The final result with all images combined
Go to full article: Tricky Low Light Engagement Photography Situations |
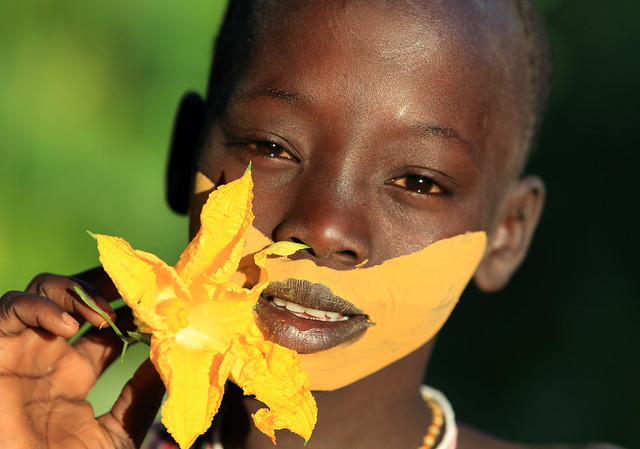
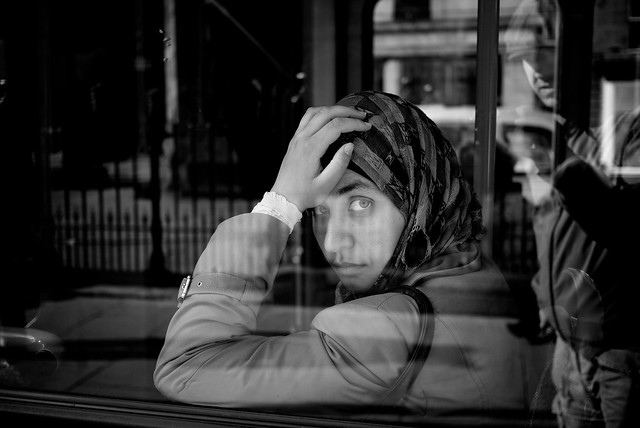
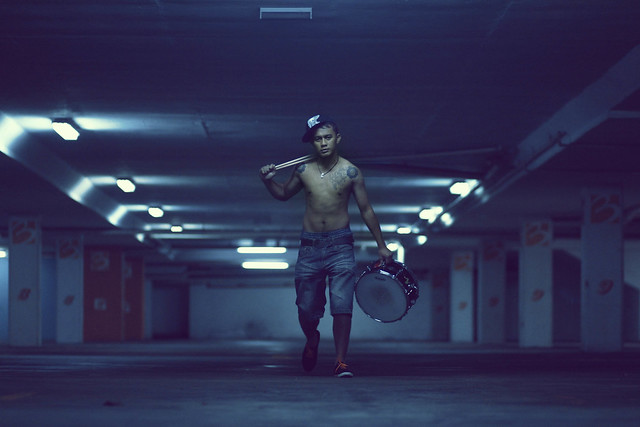
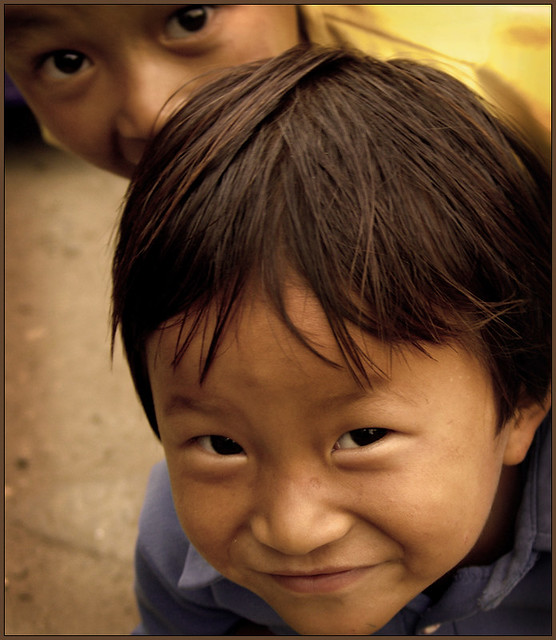
| Endless Creativity is Possible in Portrait Photography: Here are 11 Examples Full of Life Posted: 20 Aug 2013 11:36 AM PDT Portrait photography or portraiture is photography of a person or group of people that displays the expression, personality, and mood of the subject. Like other types of portraiture, the focus of the photograph is usually the person’s face, although the entire body and the background or context may be included.  photo by Thomas Jeppesen  photo by Bùi Linh Ngân  photo by Jonathan Kos-Read  photo by Tracy De Paola  photo by Dietmar Temps  photo by Thomas Leuthard  photo by Dietmar Temps  photo by Azlan DuPree  photo by Awang Muhamad Nasuha  photo by delphy  photo by Sukanto Debnath You want to improve your portrait photography? Start with yourself and check out our article on how to take a self portrait. You don’t need much – take your camera and tripod and start shooting. For better results see our other articles with our top 10 portrait photography tips and other helpful portrait photography techniques. Go to full article: Endless Creativity is Possible in Portrait Photography: Here are 11 Examples Full of Life |
| You are subscribed to email updates from PictureCorrect Photography Tips To stop receiving these emails, you may unsubscribe now. | Email delivery powered by Google |
| Google Inc., 20 West Kinzie, Chicago IL USA 60610 | |


No comments:
Post a Comment