Wedding Photography Equipment Considerations |  |
- Wedding Photography Equipment Considerations
- 10 Amazing Wedding Photos: Capturing a Key Moment in People’s Lives
- What it Takes to be a Good Interior Photographer
- Why Many Photographers are Transitioning from DSLRs to Mirrorless Digital Cameras (Video)
| Wedding Photography Equipment Considerations Posted: 05 Oct 2013 10:53 PM PDT Final Reminder: Only 1 day left! in the deal on the: Multicultural Wedding Photography Guide Becoming a wedding photographer is not an easy task. Along the way, you will have to make some important decisions. My aim is to make it a little easier for you to decide which route to take. So let’s start at the very beginning and look at what equipment you will need. Camera BodyThe first (and one of the biggest) decisions is choosing the correct camera body. When you become a wedding photographer, you will need to make a choice of what brand of equipment you want to use. In the professional world, there are only really two brand choices, Canon and Nikon, but you will need to make a decision and stick with it, as the cameras and lenses are not compatible between the two makes. In my opinion, Canon is the best choice simply because of the far superior optics and cutting edge camera design and functions. Not everyone will agree with me here, but this is my personal choice. Every camera will boast a range of features and you will need to take into account the job that you want your camera to undertake when making your choice. Let’s take a look at the features you will need to study. Frame RateCameras at the higher end of the price range are not necessarily the best for wedding photography. They tend to be cameras with extremely fast frame rates of up to 9 frames per second whilst shooting in RAW mode, which is more suited to wildlife or sports photography. A camera that can achieve a frame rate of 3-4 frames per second shooting in RAW is more than adequate. The more expensive, faster cameras cost the higher price because of the added processing power they possess. ISO RangeAs you will be shooting mainly in old churches and poorly lit conditions, a camera body with a high ISO rating is required to get correct exposure. But be aware that the higher the ISO, the grainier the picture will become. ISO, in short, means the sensitivity of the camera’s internal photographic sensor. The higher the number the more sensitive the sensor will become to noise or grain. Some camera bodies cope with higher ISO ratings better than others. For example, the Canon 40D on ISO 1600 will look extremely grainy compared to a Canon 5D Mark II at ISO 1600, which will be smooth and grain-free at higher ISO rates. Cameras with a larger sensor tend to be less susceptible to noise or grain at higher ISO settings. Sensor SizeYou have many options for sensor size, ranging from cropped APS-C to full frame 35mm equivalent. The larger sensors mean more depth of field and greater dynamic range, resulting in better picture quality. Cheaper cameras tend to have smaller sensors; if you want the best results from your lens then I would recommend a full frame 35mm equivalent. Megapixel CountHaving a camera with the highest megapixel size is not necessarily the best. For instance, there are many cameras on the market with a megapixel rate of 17 MP for under £200 but the quality of the sensor and lens are poor and this results in a poor looking image. Yes, you will be able to print out larger images with the added pixels, but the quality will not be at a satisfactory level for professional wedding photography. As an example, I will use the Canon 40D again. It has 10.1 megapixels, and the images it produces far exceed the quality of a cheap 17 MP camera purchased simply because of the size and quality of the sensor used. Unless you need to produce prints of A2 in size, a 10 megapixel camera body is fine. Overall FeelWhichever camera you decide to purchase, it must feel nice in your hands. Some cameras’ buttons and dials are set out better than others. Go to your local camera shop and try out a few, and you will soon get to know the layout of the various cameras available. Personally, I use a pair of Canon 5D Mark II’s, as I feel that they suit my style of photography extremely well. With its full frame sensor, noise-free high ISO rates, and 3.9 frames per second shooting rate, it is the ideal camera body to use. Memory CardsChoosing the correct memory card can be so confusing! Ok, so you know that your camera takes one of the popular formats, like Compact Flash II or an SDHC card, but what size and speed do you need? In my experience as a professional photographer, I use the fastest memory card my camera will allow. Cards are listed in either x speed or speed in MB per second. Nearly all memory card manufacturers will list the maximum read speed but not the write speed, which is the more important one for us as to know. Sandisk is the only manufacturer that actually advertises the slower speed, so don’t be fooled if you see a card that advertises a speed of 600X or 60MB per second, when quite possibly this could be the read speed and not the speed the images are written to the card. As a wedding photographer, you will be capturing many important and priceless events and will need a card that is reliable. Imagine what it would do to your reputation if you were to lose all the images from a wedding! If you are, in fact, using a full frame DSLR and shooting in RAW, then a card of 16GB will be a good start. Make sure you have a few smaller cards as backup. In my kit bag I have two 32GB cards and ten 4GB cards. Halfway through the day I will transfer the images to my laptop as a backup. About the Author: For Further Training on Wedding Photography:Unlike portrait photography where you have the luxury of time, wedding day photography is fast-paced and unforgiving to beginners as there is only one chance to get it right. This new in-depth guide is designed to help wedding photographers grasp the various possibilities of on-location lighting at wedding ceremonies & receptions of various cultures. Only 1 day left to receive 30% off! Deal found here: Multicultural Wedding Photography Lighting Guide Go to full article: Wedding Photography Equipment Considerations |
| 10 Amazing Wedding Photos: Capturing a Key Moment in People’s Lives Posted: 05 Oct 2013 05:28 PM PDT Wedding photography is the photography of activities relating to weddings. It encompasses photographs of the couple before marriage (for announcements, portrait displays, or thank you cards) as well as coverage of the wedding and reception. Here is what we found: 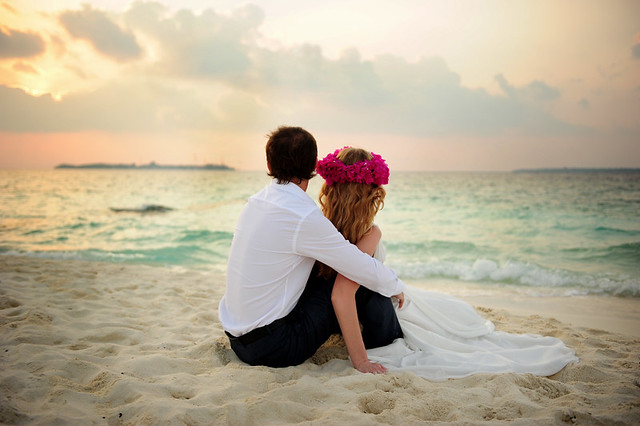 photo by Shimal Ahmed 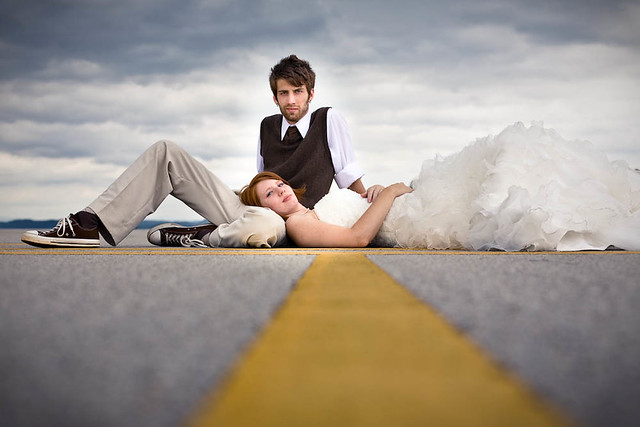 photo by Kelly Niemann  photo by Tatiana Averina 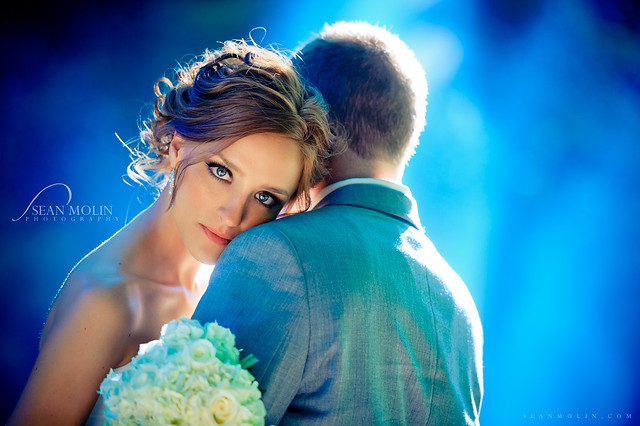 photo by Sean Molin 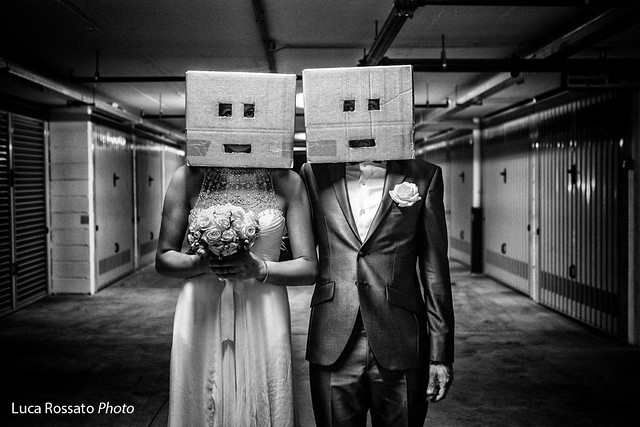 photo by Luca Rossato  photo by Nate Chongsiriwatana 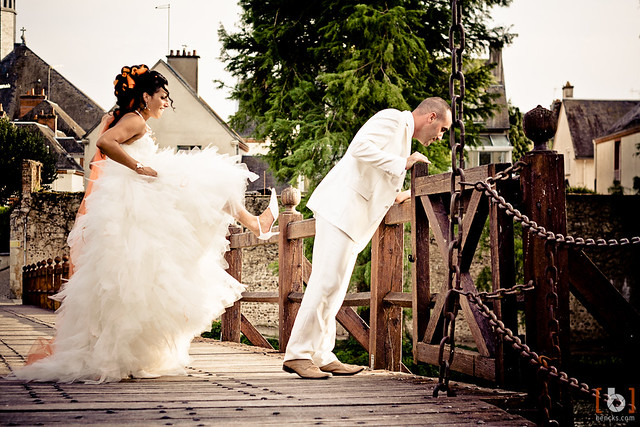 photo by Ben C.K. 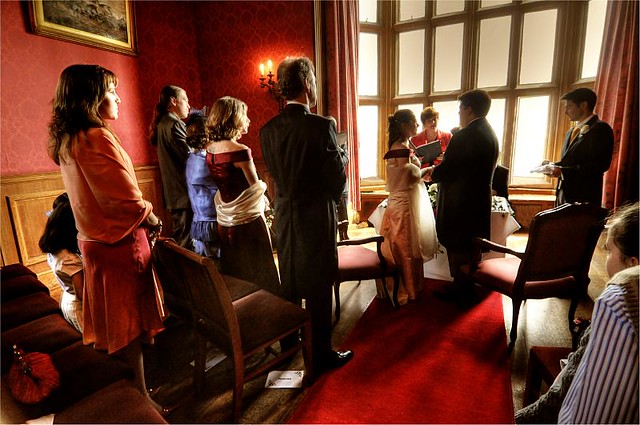 photo by Jose Maria Cuellar 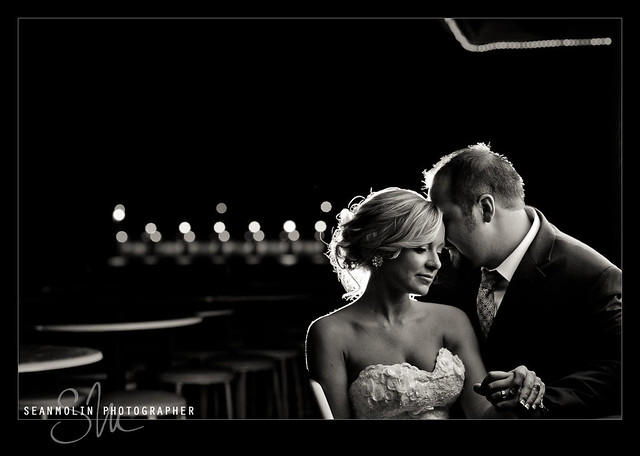 photo by Sean Molin 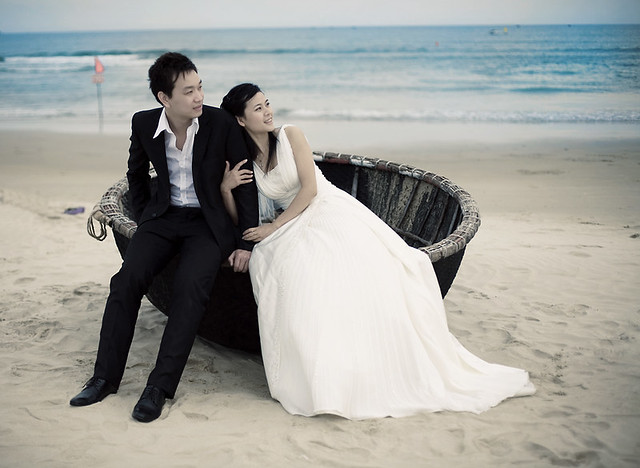 photo by Bùi Linh Ngân Many consider it to be the most important day of their lives, and they depend on their photographer to capture it so they can remember. Go to full article: 10 Amazing Wedding Photos: Capturing a Key Moment in People’s Lives |
| What it Takes to be a Good Interior Photographer Posted: 05 Oct 2013 03:39 PM PDT Interior photography is the most challenging of all the professional genres of commercial photography. Every detail is critical. Every prop must be correct and in just the right location. Busy-ness must be avoided. Things must be cleaned up and simplified. Lighting can be challenging. And in addition to all that, one must understand how best to portray the “look and feel” of the space that the architect or interior designer worked so hard to convey. The photograph will always be better than the reality. It will have clarity of vision, illustrate what your client is selling, have an atmosphere of light (usually created by the photographer’s lighting), be inviting, have a feeling of presence, have a clean and simple look, and it will have drama and movement. Some simple rules to start with:1). Define your client. Who is your client? The architect, builder, or realtor will want to show relationships of the design to the space and the intention and flow of the design layout. The interior designer will be concerned more with the furnishings and the details of their design. Architects like drama and usually don’t mind some wide-angle distortion, whereas the interior designer may find distortion to be a problem. In any case, the distortion must be used judiciously–it has to contribute to the overall composition in an effective way. 2) Angle. The one-point perspective or “head on” view is strong and symmetrical. The two-point perspective may define the space effectively, but pay close attention the how the space of the photograph is divided. The emphasis should be on 2/3 of the composition; don’t divide the space in half. For architects and builders, be sure to show significant design detail and take into consideration how the spaces work together. Don’t try to show too much–keep the viewer’s attention on important elements. A couple of good photographs are far more effective than a lot of weak ones. Go for quality, not quantity. Remember the adage: less is more. Wide angle doesn’t mean that one should show more, just because it is possible to do so. Everything in the photograph must hold its own weight and be accountable to the overall composition. Every angle, line, and detail has to work in the photograph. 3) Height. A low angle foreshortens and can be very nice for some views. However, it is important to show the important elements of the interior, too. Be high enough to separate the elements and keep the composition clean and clear. Avoid a cluttered look and having things “grow out” from the tops of furniture, etc. Occasionally, a high view is required, but I usually find that a little lower than eye level is favorable and pleasant. The higher the lens, the more foreground distortion. A piece of furniture too close to the foreground (especially a round table) will become very distorted with a higher view. Often the foreground will determine the camera height. Having the foreground “fall” out toward the bottom edge of the photograph is very disturbing and must be avoided by either adjusting the camera height or camera position or by moving the furniture back from the foreground. 4) Arrangement. After the angle has been determined, frequently the furniture must be rearranged to fit the format and perimeter of the photograph. Sometimes this may be subtle; other times it may be drastic. A pleasing composition and balance must be found, and concerns such as distortion of furniture, tangents, and “busyness” are addressed at this time. I always get the large pieces in place first and then work down to the smaller scale furniture from there. Everything must be perfect–from the direction and relationships of the furniture to each other as well as their relationship to the room. Always adjust everything “to camera” – the room setting may appear totally out of place from another vantage point, but it will look correct from the camera position and that is all that matters. 5) Props. The final details in the set are the arrangement of the props. I start by taking out all the clutter and then carefully putting things back or finding other elements that compliment the space. Book shelves are rearranged to look more uniform and uncluttered, desks and work areas are totally cleaned up. I almost always add fresh flowers and plants to soften the look and feel of the space, as well as books to fill space on tabletops, etc. I like to have height to contain the edges of the image. Taller plants can work well for that. Kitchens are particularly challenging to prop; they must look clean and orderly but also livable. I frequently use bread, bowls of fruit, flowers, etc. Simple breakfast settings of orange juice, coffee, bagels, and a newspaper can also work well. Pay particular attention to chair legs–they can get very busy-looking if not handled carefully. In corporate settings, conference room chairs should have the legs and wheels all going in the same direction, the chairs should all be spaced exactly the same–again–it may not appear that way from another position, but it must look very uniform from the camera position. A clean, styled uniform look that is also loose enough to feel real is the key to successful propping. One of the most important qualities that the interior photographer must have is patience, as well as being extremely detail oriented. It is essential to have everything perfect; the direction of the cup handles; the arrangement of the flowers in the vase; the space between accessories on the table. Lamp shades must be straight and undistorted; the color of the page in the open book must work with the photo. Every element in the interior photograph must play off of and work with each other, as well as within the context of the whole. 6). Lighting. Good lighting separates the average photographers from the great ones. Light defines the feel of the space and it gives it a three-dimensional look. The trend lately, especially since the advent of digital photography, has been to predominantly use ambient light. For some clients, and under specific conditions, this may be acceptable. However, compared to what good lighting can do for the scene, the results are very flat, uninspiring and “dead”. My approach to lighting varies depending on the space and client, but my philosophy is consistent. I light to create a beautiful photograph; my lighting always enhances the space, and I use my lighting to lead the viewer’s eye through the space and feature important details and design elements. A good photograph will always look better than reality. Sometimes my lighting will simply enhance the existing light, other times I will totally transform the interior or the exterior of the building. Whether the lighting setup is complex or simple, good lighting will always enhance the overall look of the photograph. It will add highlights and shadows, separate tonality (especially with dark with tones and shadows), and emphasize texture. It will bring saturation to color and a feeling of life to what would otherwise be a lackluster image. Regardless of how beautiful the space is and how well the designed lighting adds atmosphere, adding lights will always help the scene. The only exception to this rule would be in very large spaces, and even then, placing lights in strategic spots can make a big difference. As with anything else in life, in order for one to excel in a particular field, one must be passionate about it. Photographing interiors is a highly specialized field, and it is not for the faint of heart. An interior photographer must be very detail oriented and have a love for–and at least a layman understanding of–architecture and interior design. Often times, the client will totally depend on your expertise, so your knowledge of what works in the interior photograph must be at least on a level as the professional whom you are working for. Personally, I find the blend of technical details with aesthetics to be very pleasing. Every shoot is like solving a puzzle–the work never gets boring. About the Author: Go to full article: What it Takes to be a Good Interior Photographer |
| Why Many Photographers are Transitioning from DSLRs to Mirrorless Digital Cameras (Video) Posted: 05 Oct 2013 10:36 AM PDT Mirrorless cameras are beginning to pick up steam and are enjoying increasing sales as the manufacturers continue to produce better products at competitive pricing. If you have been curious about the benefits and downfalls of the cameras are, or are just plain curious as to what they are all about, B&H has made a very informative seminar that covers everything from the basics right down to the nitty gritty details and product comparisons. Have a look: As we have learned from the video above, the mirrorless cameras are giving bulkier DSLR’s a run for the money. With increasing consumer interest, more and more manufacturers are producing the handy little camera which can make the process of choosing the right camera more difficult for the buyer. There are many, many brands and models of mirrorless cameras to choose from. Here are just a few of the examples. Canon EOS M
On the less expensive end of mirrorless cameras, Canon’s EOS M still packs a punch with it’s 18MP CMOS sensor and large 3″ touch screen display. Canon introduced the new M mount with this camera with a small assortment of lenses and an affordable adapter to give you a larger variety of lenses to choose from. Fuji X-E1
The Fuji X-E1 features Fuji new 16MP X-Trans CMOS sensor rather than the traditional Bayer style sensors which eliminates the need for anti-aliasing filters and helps to produce sharper images right out of the camera. The ISO somewhat limited at a range of 200-6400, but the camera does offer a built in flash too help out in a pinch. The camera has an outstanding viewfinder and is considered to be the best viewfinder on the market at the moment. Olympus OM-D
The Olympus OM-D makes up where the Fuji lacks with a wide ISO range from 200-25,6oo. Another great feature this camera offers that many others do not is a 3′ tiltable LCD screen and an electronic viewfinder. The TruePicVI processor and ultra fast auto focusing feature make this an ideal choice for shooting sports or other fast moving objects. There is a seemingly limitless variety of lenses available for the OM-D thanks in part to Olympus using the same mount as Panasonic, which means the cult classic pancake lens originally made for the Panasonic Lumix will also fit on the OM-D. The cameras listed above are just a sampling of whats on the market. Depending on what your budget and what kind of photography you are interested in, there is probably a mirrorless camera that will suit all your needs. Just do a little research and compare your top selections to make sure that you are choosing the correct one. Go to full article: Why Many Photographers are Transitioning from DSLRs to Mirrorless Digital Cameras (Video) |
| You are subscribed to email updates from PictureCorrect Photography Tips To stop receiving these emails, you may unsubscribe now. | Email delivery powered by Google |
| Google Inc., 20 West Kinzie, Chicago IL USA 60610 | |


No comments:
Post a Comment