1 Million Photos Displayed on PictureSocial, The Photography Network |  |
- 1 Million Photos Displayed on PictureSocial, The Photography Network
- A Fascinating Look at One of the First Cameras in Space (Video)
- Interesting Photo of the Day: Where Lava Meets the Ocean
- A 10-Month Timelapse Photography Adventure Through Yosemite (Video)
- How to Do a Nondestructive Dodge and Burn in Photoshop (Video)
| 1 Million Photos Displayed on PictureSocial, The Photography Network Posted: 24 Apr 2014 09:11 PM PDT We are very excited to announce that PictureSocial, the photography network, has just reached the milestone of 1 million photos! It has become one of the largest photography social networks on the internet and still remains completely free of charge. Version 3.0 is coming soon with lots of improvements. Check out the most recent new photos & featured photos here  1 Million Photos from Around the World Displayed on PictureSocial Top photos from the last few months:Most popular photo in March – captured by Mohamed Rafi These are the most recent featured photos:About PictureSocial:PictureSocial is a place where photographers from all experience levels can share their knowledge and learn from others. On PictureSocial, you can display and critique photos (unlimited free photo storage), blog about your experiences, ask and answer questions, discuss camera equipment, watch video tutorials and more. Get a free photography profile here Go to full article: 1 Million Photos Displayed on PictureSocial, The Photography Network |
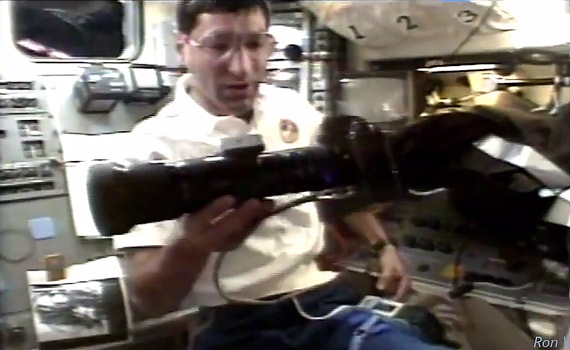
| A Fascinating Look at One of the First Cameras in Space (Video) Posted: 24 Apr 2014 04:50 PM PDT Man has been bringing cameras into space for quite sometime now, which means the technology and resulting photos are getting better and better. To that end, it’s still interesting to take a look back into time to see where it all began. We can do that in the video clip below, where viewers are able to take a rare peek into astrophotography when it was just getting off the ground: The camera featured in the video clip was a Nikon F3, a film camera that was modified by replacing the film back with an electronic back that transmitted the images to a computer using ports and wires. The computer then transmitted the images back down to a control station on Earth.
The lens is a 300mm with two lens extenders. One is a 1.4x and the other a 2x extender, giving the lens a reach of about 1000mm. Go to full article: A Fascinating Look at One of the First Cameras in Space (Video) |
| Interesting Photo of the Day: Where Lava Meets the Ocean Posted: 24 Apr 2014 03:05 PM PDT Kilauea is a massive shield volcano on the Big Island of Hawaii. As anyone who’s visited can tell you, it’s a frightening, awesome, captivating experience; you can walk on cracks with glowing orange lava deep beneath and feel the heat pulsating from the center of the earth. In this photo, Hawaiian photographer Tom Kualii captures beautifully the meeting of lava and ocean: 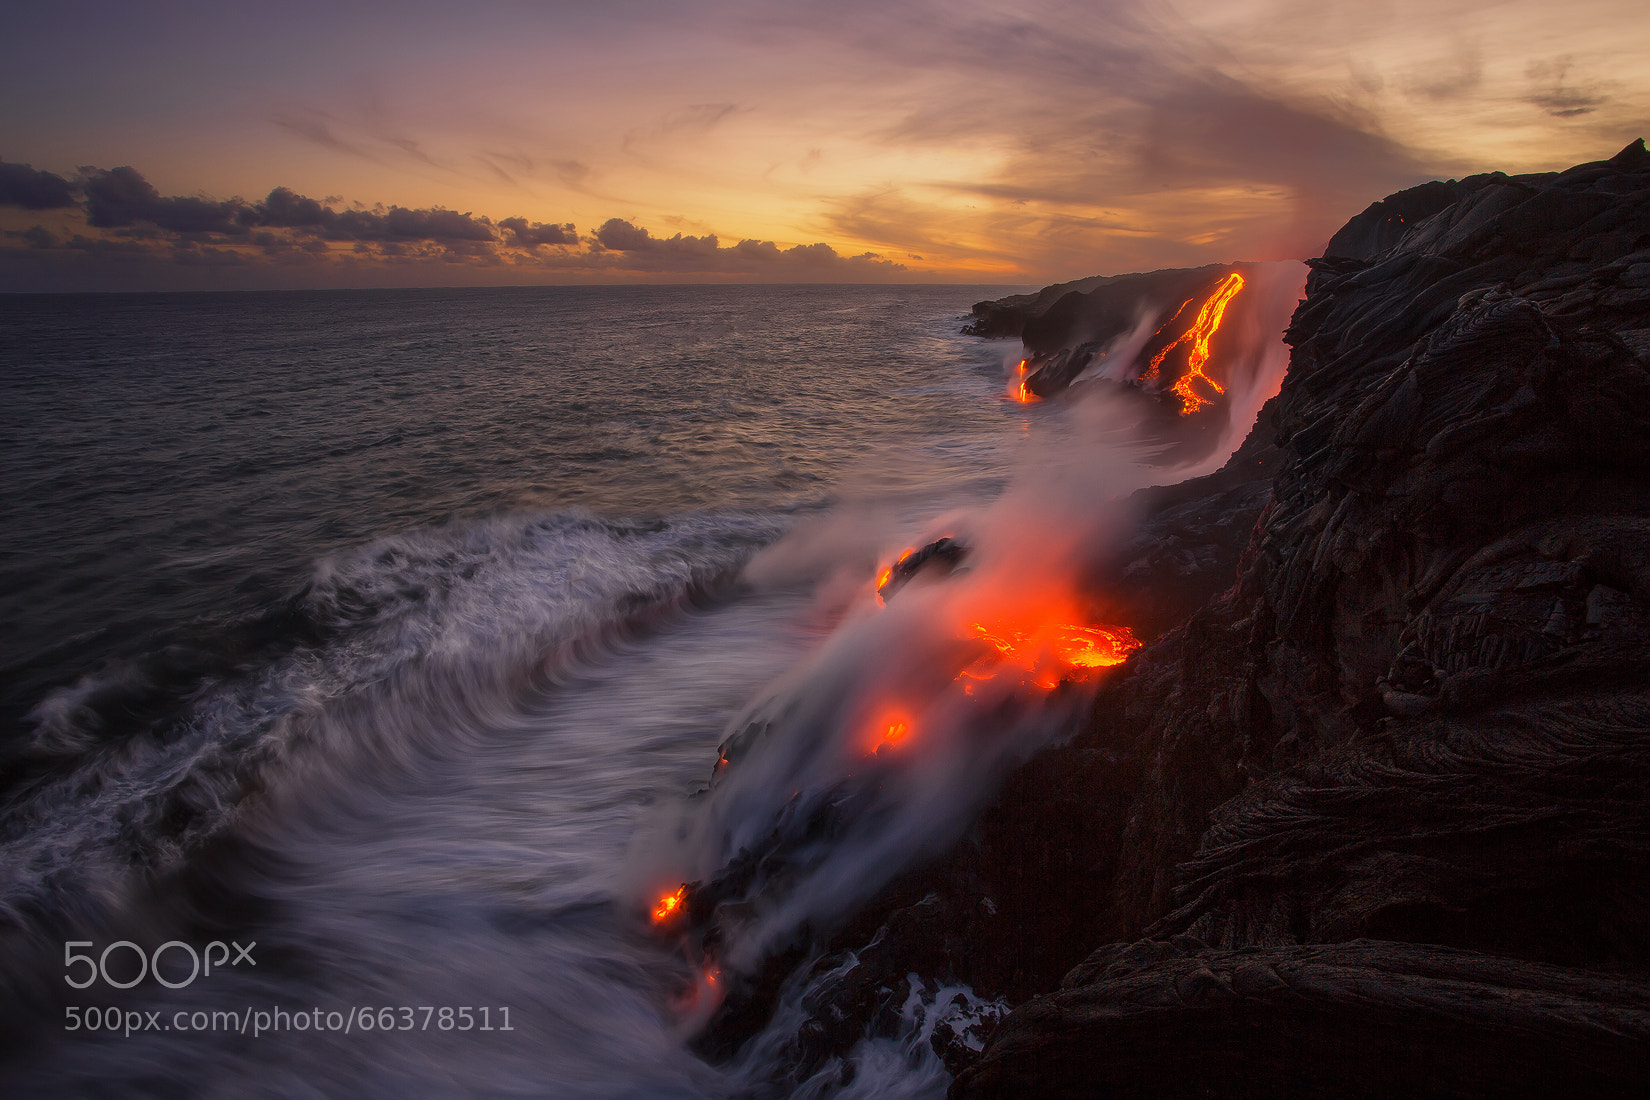 A long exposure smooths out the water and lava while keeping the sun bright behind. (Via 500px. Click for larger image.) The shot, called “Still Flowing After Sunset”, is typical of Kualii’s majestic style. It almost resembles a watercolor painting, but the starkness of the dangerous subject matter distinctly clashes with the serenity of the background. Well composed, well thought out—and it really makes you want to visit Hawaii for something other than just beaches and sun. Go to full article: Interesting Photo of the Day: Where Lava Meets the Ocean |
| A 10-Month Timelapse Photography Adventure Through Yosemite (Video) Posted: 24 Apr 2014 12:49 PM PDT Every year, Yosemite National Park sees more than 3.7 million visitors hike through the implacable seven-square-mile Yosemite Valley. Since it’s blessed with brilliant granite cliffs, pristine streams and ancient Giant Sequoias, you can understand why two landscape photographers, Colin Delehanty and Sheldon Neill, would spend 10 months hiking 200 miles for 45 solid days to produce this astonishing timelapse video: The boys shot this beauty on a Canon 5D Mark III and Sony FS700, and hiked not just through the popular Yosemite Valley, but also spent nights atop Half Dome, El Capitan, and Clouds Rest. They say their gear weighed around 70 pounds in total.
The video is honestly one of the best we’ve seen. And let’s be clear: we see a lot of Americana-infused timelapse videos. There must be a new one every—enough to beg the question of how our forefathers could truly appreciate nature before the advent of timelapse photography. For Further Training on Timelapse Photography:There is an in-depth guide (146 pages) to shooting, processing and rendering time-lapses using a dslr camera. It can be found here: The Timelapse Photography Guide Go to full article: A 10-Month Timelapse Photography Adventure Through Yosemite (Video) |
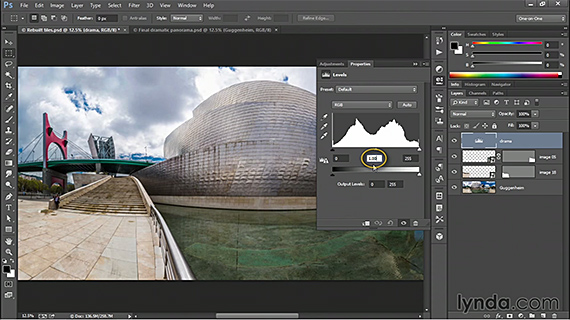
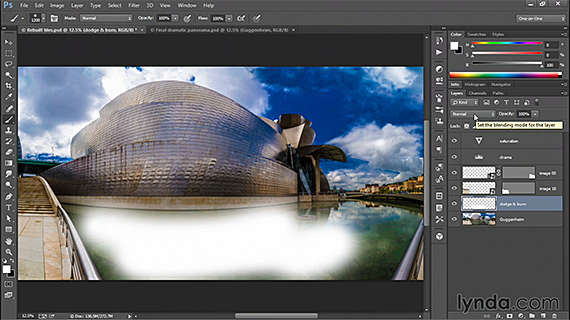
| How to Do a Nondestructive Dodge and Burn in Photoshop (Video) Posted: 24 Apr 2014 10:27 AM PDT When you use the Dodge and Burn tools found in the flyout menu of Photoshop, you may be risking your entire image. These tools are destructive, meaning they permanently modify the pixels in your image. So, if you don’t want to make any permanent modifications, you can dodge and burn nondestructively by following the instructions in this video: Deke McClelland uses a panoramic image he’s created of the Guggenheim Museum in Bilbao, Spain to show us how to enhance the drama of the scene without compromising the image. Deke starts off by adding a couple of adjustment layers. If your right side panels are not showing, just press shift + tab to bring them back. In the Layers panel, go to the black and white circular icon at the bottom, press and hold the alt key (Win) or option key (Mac) and choose the Levels command. This brings up a New Layer dialogue box. If you just click on the icon without holding the alt key down, the panel will appear, but without a dialogue box to create a new layer. Deke calls his new layer “Drama”. Then inside the Properties panel, click on the gamma value, press shift + down or up arrow to change the gamma value. Deke presses the down arrow twice to reduce gamma value to 0.8.
Next, he adds a Vibrance layer. You can do this by again holding alt and clicking on the black and white circular icon, this time choosing Vibrance. Deke calls his layer “Saturation”, but you can name it whatever you want. Adjust the vibrance and saturation as you wish; Deke chooses +75 for vibrance and +10 for saturation. You can see the difference between your changes and the original image by turning off the adjustment layers in your side panel—just click on the eye icons. How to Create a Non-Destructive Dodge and Burn LayerAt this point, Deke selectively brightens and darkens portions of the image—dodging and burning. As I said, the Dodge and Burn tools found in the flyout menu are destructive, so if you don’t want to make any permanent modifications, you can dodge and burn nondestructively using an independent layer:
If the effect is too bright, you can change the blend mode. In the Layers panel, change the blend mode from Normal to Overlay or Soft Light (Overlay will give more brightly saturated colors).
To turn off Blend Mode, press the esc key. Press the m key to switch back to the regular marquee tool so you can change opacity levels. You can try different opacity values by just pressing the number keys (1-9) on the keyboard. Now, you can burn by adding more contrast to portions of the image:
How to Erase Your MistakesIf you paint too far over your intended target, just erase:
The idea is to paint with white in order to dodge and black to burn. Using this technique of nondestructive dodging and burning, along with a few adjustment tools in Photoshop can drastically transform a bland, lifeless photo into a bright, vibrant, and dramatic image. Go to full article: How to Do a Nondestructive Dodge and Burn in Photoshop (Video) |


| You are subscribed to email updates from PictureCorrect Photography Tips To stop receiving these emails, you may unsubscribe now. | Email delivery powered by Google |
| Google Inc., 20 West Kinzie, Chicago IL USA 60610 | |
No comments:
Post a Comment